Learning how to use a vertical smoker can be confusing, especially if you’re new to smokers and the world of smoking meat. But don’t worry, once you figure it out you’ll be well on your way to becoming a BBQ Pit Master!
That’s exactly what we’re going to talk about here. In this article, we’ll walk you through the steps you should follow so you can start smoking meat using a vertical smoker.
Table of Contents
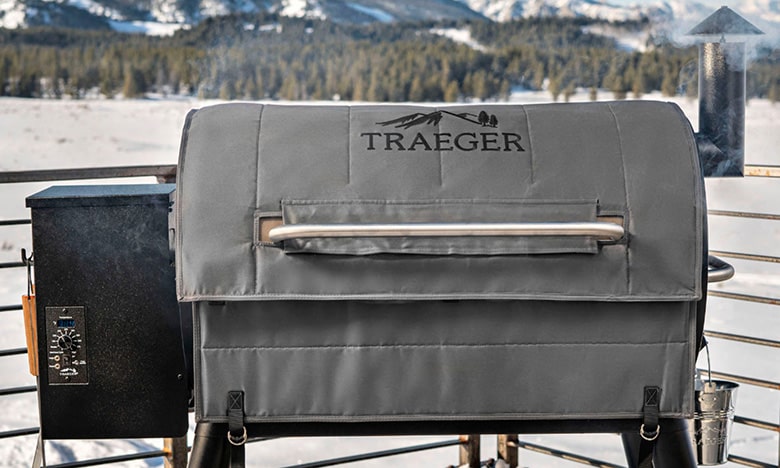
What is a Vertical Smoker?
To be fair, you can technically call any smoker a vertical smoker as long as it’s vertically orientated. This means it can come in several variations depending on the fuel it uses. A few good examples are vertical charcoal smokers, ugly drum smokers, electric smokers, and water smokers.
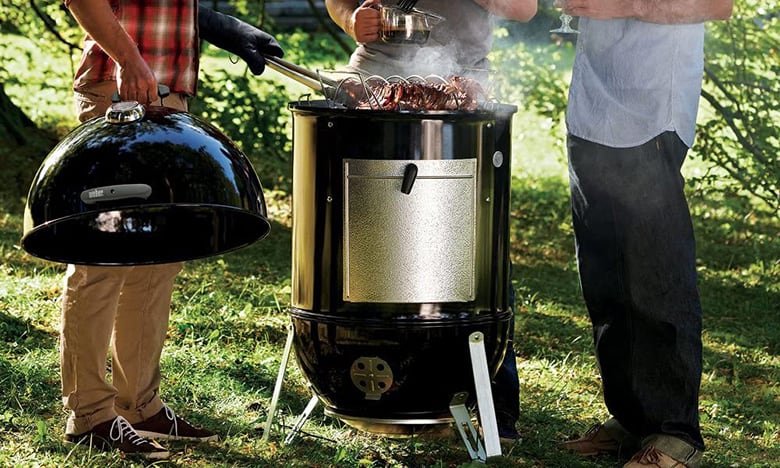
Essentially, vertical charcoal smokers feature a vertical box or cylinder in which fire is placed at the bottom of the cooking chamber (in the case of a water smoker or box smokers) or in a firebox that’s connected to the chamber (in the case of a vertical offset smoker).
One of the reasons why vertical charcoal smokers are beginner-friendly is because they don’t have any mechanical or electrical parts. This removes the need for figuring out which part is connected to this part or why this part is not working, etc.
The caveat with a vertical smoker is that it has a small chamber, so you can only cook several pieces of meat at the same time.
However, it’s still big enough to fit in 2-4 10lb. pork shoulders or as many as 10 baby back ribs. The best part about vertical smokers is that they’re among the cheapest as far as smokers are concerned.
Due to their affordable price, they’re easily accessible for individuals who want to get their hands on smoked meat without having to spend a lot. They’re even designed to be lightweight and portable, so you can move them around in your yard – except for electric smokers which require a nearby outlet.
Of course, there are a few downsides to vertical smokers. As mentioned earlier, they’re fairly small, so the number of meat you can cook at the same time is fairly limited. There’s also the fact that the water pan can get dirty easily, which means you’ll have to wash it after every use.
Lastly, vertical smokers are designed purely for BBQ smoking.
How Do Vertical Smokers Work?
A vertical smoker comes in three separate sections which are as follows:
- The cooking chamber where you place your meat to smoke
- The water pan to hold liquid which helps keep the meat moist throughout the smoking session
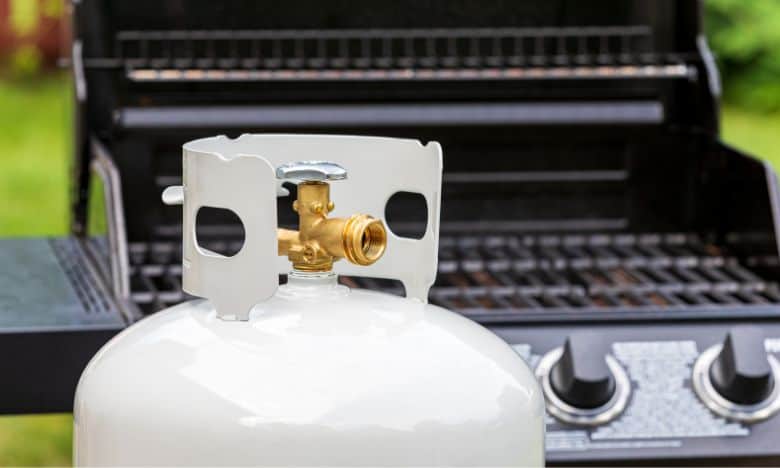
- The firebox located at the bottom where the fuel is added
The firebox is the heating source that provides heat to the entire smoker. The smoker works by drawing up heat and smoke directly to the cooking chamber. However, heat and smoke first go through the water pan, heating it up in the process.
The presence of water basically adds moisture to the smoke which, in turn, makes meat tender and mouthwateringly delicious.
Some grill masters, however, prefer using other liquids such as cider or beer instead of water to add a distinct, smoky flavor to their meat.
This entire smoking process allows you to smoke meat, though this will normally take a few hours depending on the type of meat you want to cook. Despite the long wait, this is actually a very simple cooking process which is why this type of smoker is preferred by a lot of beginners.
In a nutshell, all you need to do is place fuel on the firebox, light them up, place the meat inside the chamber, close the lid, then let the smoker do its thing.
How to Use a Vertical Charcoal Smoker
Now that we had a brief overview of what a vertical smoker is and how it works, let’s now find out how to use a vertical smoker, especially if it’s your first time using one.
Here’s a step-by-step guide that you can follow so you can start smoking food successfully:
Step #1: Set Up Your Smoker
Before you start, you should first set up your smoker in a sweet spot where you can easily access your meat and is at a safe distance from any structure. You’d want to take your smoker apart then set the base at your preferred spot.
Also, make sure you place it on leveled ground. You don’t want any obstructions nearby. Once you’re done setting up your smoker, you’re now ready to proceed to the next step.
Step #2: Fire Up the Smoker (Add Wood Chips)
The next step is to light up your smoker. This process will depend on the type of vertical smoker you have, but for continuity’s sake, let’s assume you’ve invested in a charcoal vertical smoker.
Vertical electric smokers have a bit of a different mechanism, but the concept pretty much remains the same.
At this point, you can use either wood chips or charcoal as fuel, though you can also achieve better results if you use both.
This is because charcoal can light up pretty quickly and maintain its heat consistently. Meanwhile, woodchips can help add flavor to the smoke depending on the wood you used. Simply place your fuel into the charcoal grills or charcoal chimney then light it up using lighter fluid.
You can tell if the charcoal is ready for cooking as soon as it turns gray. When the gray color starts appearing, you can then add wood chips for that distinctive, smoky flavor.
There are different types of wood you can use for smoking (we’ll talk about them later below).
Step #3: Fill the Water Pan with Water
After setting up the fire, the next thing to do is to fill up the water pan with water. The liquid in the pan helps stabilize the temperature inside the smoker and keep your meat moist.
However, you can go a step further by using other liquid types, like beer, to add a distinctive flavor to your food. Some even add spices to the water for that added aroma as well.
Regardless of what liquid you fill up in the water pan, what matters is that it always contains some liquid to prevent the meat from becoming too dry and tough.
Ideally, you want to keep the water level around 3/4 of the pan, just enough that you don’t have to refill it every now and then while cooking.
Filling it to the brim isn’t recommended either since some liquid could spill into the firebox, causing it to extinguish the fire even before you can start cooking. Once done, simply place it inside the smoker and proceed to the next step.
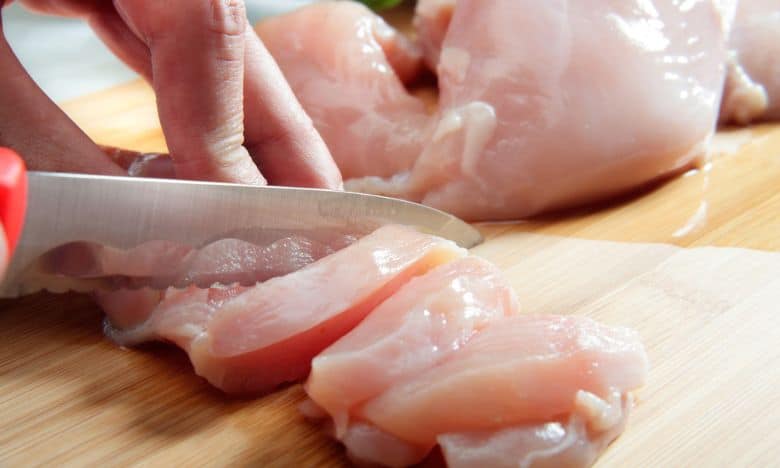
Step #4: Place the Grills, then the Food
As soon as you’ve set up the water pan and the firebox, you’re now ready to place meat inside the cooking chamber. First, you have to properly place the grills which can be found in the midsection of your smoker.
When placing your food, you have to make sure it won’t touch the side of the smoker as it could end up soaking up any dirt that might be present on the sides.
This also ensures that smoke and hot air can properly go around your food. Make sure there’s enough space between each piece of meat.
Once you’re ready to start smoking, simply close the lid of the smoker. Make sure to use heat-proof gloves to avoid burning your hands.
Step #5: Monitor and Maintain the Desired Temperature
One essential skill you want to learn and master when smoking is proper temperature control and adjustment. A few hours after you start smoking, you’ll notice that your charcoal and wood start burning down, causing the temperature inside the smoker to drop.
You can also notice this when you start seeing thick, black smoke coming out of the vents.
To increase the temperature, all you need to do is add more fuel to the firebox. It’s also important to check the water pan to see if there’s enough water. If it’s running low, simply add more liquid so that your meat stays moist and tender.
You can also flip your meat every once in a while so that smoke can penetrate both sides, making sure that it’s thoroughly cooked.
When you monitor the temperature of the meat, make sure to use a good meat thermometer to get accurate readings.
Most vertical smokers come with their own built-in thermometers, but their readings tend to be off by several degrees.
With a meat thermometer, however, you can get an accurate reading of the meat’s temperature itself instead of the smoker temperature.
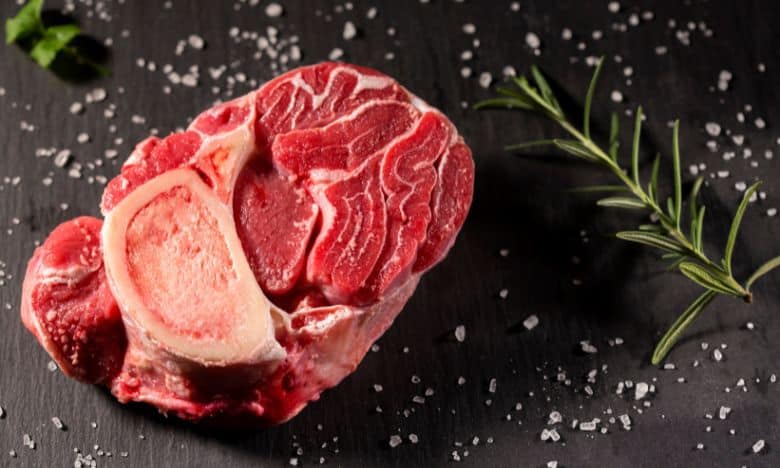
The cooking time, as well as the right temperature, will vary based on how large the meat you’re cooking is, what type of meat it is, and what solid fuel you’re using.
For ribs and brisket, you’d want to aim for around 220-240 degrees Fahrenheit. For chicken and turkey, you can maintain a temperature range of between 275 and 300 degrees.
If you want more information, you can check these articles by the USDA and FoodSafety.gov regarding different temperature ranges and recommendations for several types of meat:
Cooking Meat? Check the New Recommended Temperatures
Safe Minimum Cooking Temperatures Chart
Around the first 90 minutes, you can try adding more fuel if the heat decreases. At this point, you don’t have to worry about checking the food or the water pan. Then, after another 90 minutes, your food should be ready.
Step #6: Take Out the Meat and Leave It to Rest
As long as you followed the previous steps properly, your meat should have been smoked properly at this point. Simply take it out using tongs and leave it to rest. Enjoy!
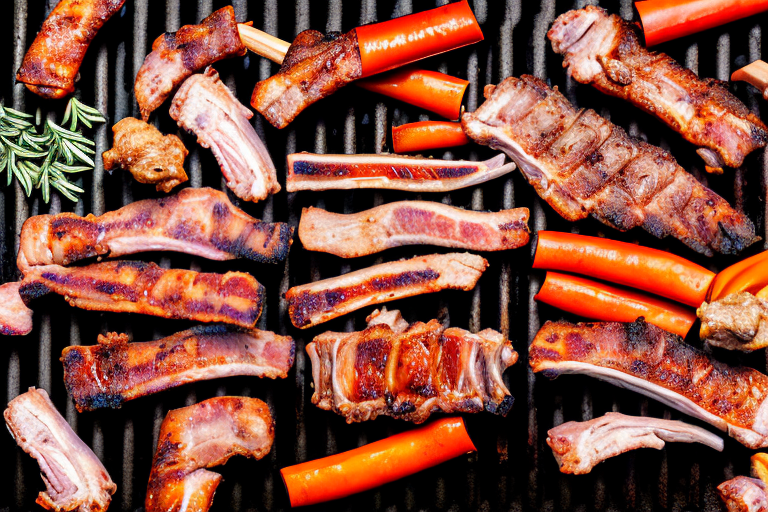
Types of Wood that Add a Distinct Flavor to Your Food
As mentioned earlier, you can add a distinctive, smoke flavor and aroma to your food via wood chips. However, this will depend on the type of wood you’re using. We recommend using wet wood chips instead of dry ones for this. Here are some good examples:
Apple
If you want to add a mild, sweet flavor and aroma to your meat, then applewood is your best option. It works best when paired with either chicken or turkey meat.
However, it will take a while for the smoke of an applewood to permeate the meat, so you can expect an even longer and slower smoking session than usual.
Alder
If you’re a fan of smoking fish, or want to try a cold smoke salmon, then surely you’d enjoy the sweet and delicate taste that alder wood can add to it.
Cherry
Cherry wood has always been a favorite among grill masters. This is because it features a soft and fruity flavor which can significantly improve the taste and aroma of beef, turkey, chicken, and ham. However, it gets even better when complemented with another hardwood like hickory.
Hickory
Hickory is probably the most versatile wood you can use for meat smoking. It works best for large cuts of ribs as well as any red meat.
However, since hickory wood chips introduce a very savory and robust flavor into your meat, extra caution is needed whenever you’re adding spices, as too much of them can leave a bitter taste in your meat.
Maple
Maple wood is ideal for poultry and pork as it introduces a more subtle flavor to your food. It also works well for smoking beef by adding a bit of a light and sweet taste.
Mesquite
The mesquite wood features a very intense flavor, making it ideal for smoking and grilling red meat. However, you should only use it in small quantities as too much of it can heavily alter the taste of your food.
Oak
Oakwood is excellent for beginners as it gives the meat a strong flavor. You can use it for meats like beef, brisket, and sausages. However, just like mesquite, it should only be used in small quantities as it can overpower the taste of your food.
Pecan
If you’re after a sweet and nutty flavor on your meat, then pecan wood is the right choice. In fact, it features a very sweet flavor that complimenting it with another hardwood is recommended to balance its flavor. It works best on beef ribs and briskets.
Additional Cooking Tips when Using a Vertical Smoker
Learning how to use a vertical smoker is actually pretty easy. As you spend more time using it, you’ll eventually discover new things that will help make the entire process a lot easier. Here are some other tips to help you out:
Learn to wait
The thing about smokers is that they take a while to cook your meat. If you think that barbeques are slow enough, then you’d be surprised to find that smoking is even slower. The rule of thumb here is that you should be willing to wait for at least 3 hours for your meat to cook.
Clean the smoker regularly
Ideally, you want to clean your smoker after each use. This is because the buildup of grease can solidify over time, making it even harder to remove if left unattended.
Make sure to always wear gloves
Always make sure to wear heat-proof gloves when smoking. You don’t want to end up with burns on your hands just because you assume that the smoker is already cold. Smokers can look deceptively cool from the outside, but once you open it, you’ll find that the inside is burning hot.
Always make your safety a priority.
Refill the water pan whenever necessary
Moisture is necessary to keep your food moist and tender when smoking. As such, make sure to always refill the pan with your preferred liquid once the water level has gone down significantly.
Marinate your food
We always recommend marinating your food before smoking to give it that extra flavor. For meat, just salt and pepper will do. For the add-ons, like red peppers, you can try marinating them in balsamic vinegar for that added flavor.
Refrain from checking the food regularly
You don’t really need to check the food every so often. In fact, every time you do so, you’re only letting smoke and some of the delicious smell out when you open the lid.
Learn how to maintain the heat
Hot coals are best used as solid fuel, alongside the addition of your chosen wood chips. If you only use drier wood, you’ll have to pay extra attention since it will easily flare up, resulting in a hotter temperature inside the smoker. This can only make temperature control a bit harder than usual.
It’s Smoking Meat Time!
We’ve covered the basics of how to use a vertical smoker for smoking meats. Hopefully, you’ve invested in a high-quality vertical smoker that you can use for a very long time.
Meat smoking is a fun, albeit long and slow cooking process. However, as long as you know how to do it using a vertical smoker, you shouldn’t have to worry about the duration at all.
You can even experiment using various smoking techniques, using various types of wood, as per the recommendation above, to get that distinctive taste and aroma you’re after. There’s a whole lot of possibilities you can enjoy with the help of a vertical smoker.
So go out there and start your meat smoking session right away!